

React is one of the most popular and hottest JavaScript libraries around for building user interfaces. It allows us to create reusable components that can render dynamic data and handle user interactions. In other words, Think of React as a fancy Lego set for building user interfaces. You snap together little reusable components, each handling its own piece of the puzzle.
However, React is not a framework, and it does not enforce any specific project structure or architecture. This means that we have the freedom to organize our code in a way that suits our needs and preferences.
In this blog, I will guide you through the process of setting up a React project from scratch, using some of the tools and techniques that I have learned from my experience as a React developer. I will also explain the purpose and function of each file and folder in the project structure, and how they work together to create a React app. By the end of this blog, you will have a solid foundation for building your own React projects and a better understanding of the project structure and best practices.
Let's go!
Step 1: Setting up the development environment
Before we start coding, we need to set up our development environment. This includes installing the necessary software and tools that we will use to create and run our React app. Here are the steps that I followed to set up my development environment:
Install Node.js and npm: Node.js is a JavaScript runtime that allows us to run JavaScript code outside of the browser. npm is a package manager that allows us to install and manage dependencies for our project. You can download and install Node.js and npm from here. To check if you have them installed, run the following commands in your terminal:
  node -v
  npm -v
You should see the version numbers of Node.js and npm printed in the terminal. If not, you may need to restart your terminal or follow the installation instructions from the official website.
Install Visual Studio Code: Visual Studio Code is the code editor that I use for writing and editing code. You can download and install Visual Studio Code from here.
Some of VSCode extensions that I recommend for React development:
ESLint: This extension helps us to find and fix syntax and style errors in our code. Although, it gets installed when setting up our React project. You can install it from here for best practices as well.
Prettier: This one helps us to format our code automatically and consistently. It also integrates with ESLint and follows its rules. You can install Prettier from here.
ES7+ React/Redux/React-Native Snippets: It's like a code autocomplete wizard for React developers. Install it from here.
Extensions for Google Chrome: Chrome has many developer-friendly tools and features that help us to inspect and modify our app:
React Developer Tools: This extension helps us to inspect and modify the React components, props, state, hooks, and more. You can install React Developer Tools from here.
Redux DevTools: This is extension allows us to inspect and modify the Redux store, actions, reducers, and more. Will be helpful for future. You can install Redux DevTools from here.
Step 2: Creating a React project
Now that we have our development environment ready, we can start creating our React project. There are many ways to create a React project, but one of the easiest and most popular ways is to use create-react-app. This is a tool that allows us to create a React project with no build configuration. It also provides some features and benefits such as:

Webpack: This is a module bundler that allows us to bundle our JavaScript, CSS, images, and other assets into a single file. It also provides some features such as code splitting, hot reloading, and optimization.
Babel: This is the compiler that allows us to use the latest JavaScript features and syntax that may not be supported by all browsers. It also provides some features such as JSX, TypeScript, and plugins.
Jest: This is a testing framework that allows us to write and run unit tests for our React app. It also provides some features such as mocking, snapshots, and coverage.
ESLint: This is a linter that allows us to find and fix syntax and style errors in our code. It also enforces some coding standards and best practices for JavaScript and React.
To create a React project using create-react-app, we need to run the following command in our terminal:
npx create-react-app my-app
This will create a new folder called my-app in our current directory, and install all the dependencies and files for our React project. It may take a few minutes to complete, depending on your internet speed and system performance.
To run our React app, we need to change our current directory to my-app:
cd my-app
and run the following command in our terminal:
npm start
This will start a local development server on port 3000, and open our React app in our browser. We should see a page that looks like this:
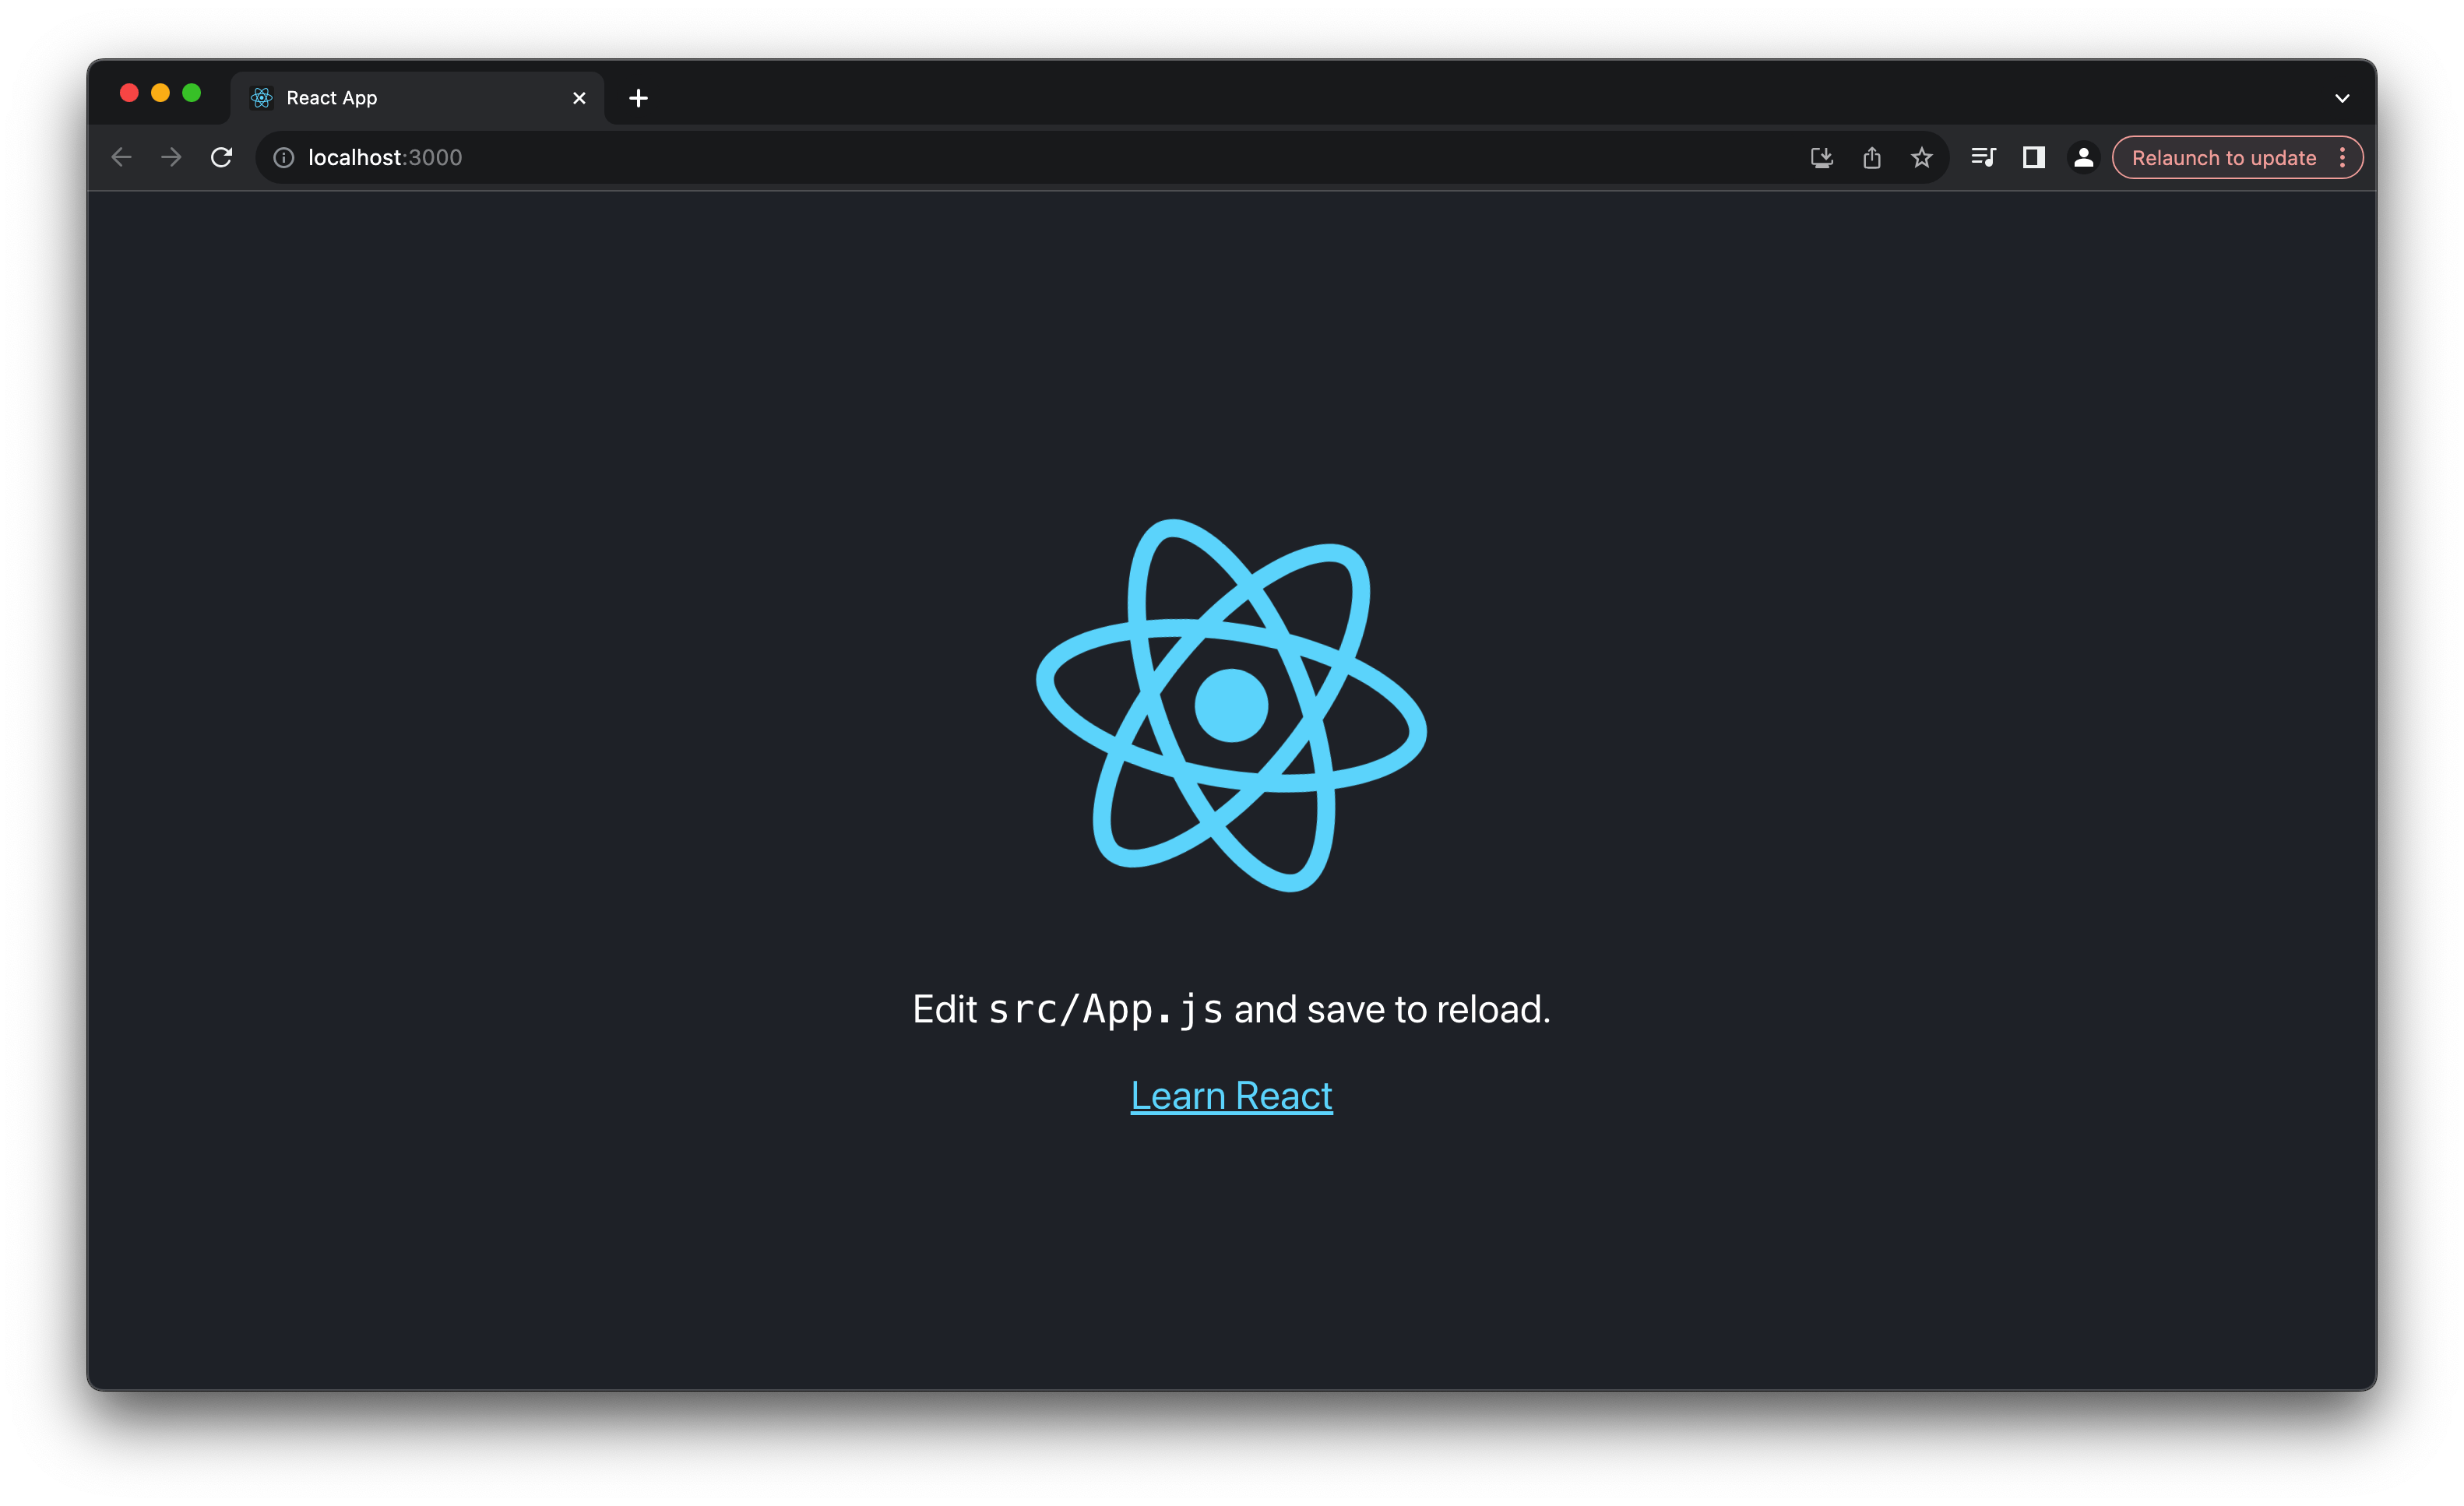
Congratulations, we have successfully created and run our React app!
Step 3: Understanding the project structure
Now that we have our React app running, let's take a look at the project structure and understand the purpose and function of each file and folder.
Here is how our project structure looks like:
my-app
├── node_modules
├── public
│   ├── favicon.ico
│   ├── index.html
│   ├── logo192.png
│   ├── logo512.png
│   ├── manifest.json
│   └── robots.txt
├── src
│   ├── App.css
│   ├── App.js
│   ├── App.test.js
│   ├── index.css
│   ├── index.js
│   ├── logo.svg
│   ├── reportWebVitals.js
│   └── setupTests.js
├── .gitignore
├── package-lock.json
├── package.json
└── README.md
Let's go through each file and folder and explain what they do:
node_modules: This folder contains all the dependencies and modules that we installed for our project. We should not modify or delete anything in this folder, as it is managed by npm. We should also not commit this folder to our version control system (Ex: Git), as it is very large and can cause performance and compatibility issues. Instead, we should use thepackage.jsonandpackage-lock.jsonfiles to keep track of our dependencies and versions.public: This folder contains all the static files and assets that are not processed by Webpack. These files are copied as they are to the build folder when we build our project for production. We should only put files that we want to access directly from the browser in this folder, such asindex.html,favicon.ico,manifest.json, androbots.txt. It should also not contain any JavaScript or CSS files inside, as they will not be bundled or optimized by Webpack.src: This is our main folder, contains all the source code and files that are processed by Webpack. These files are transformed, bundled, and optimized by Webpack when we build our project for production.Main function of the src Directory:
To act as a Central Repository: Houses all application-related files, including JavaScript, CSS, images, and other assets.
Maintain Modular Organization: Enables subfolder creation for organizing code into logical groupings, such as components, hooks, reducers, actions, and utilities. For example, we can create folders for components, hooks, reducers, actions, utils, etc.
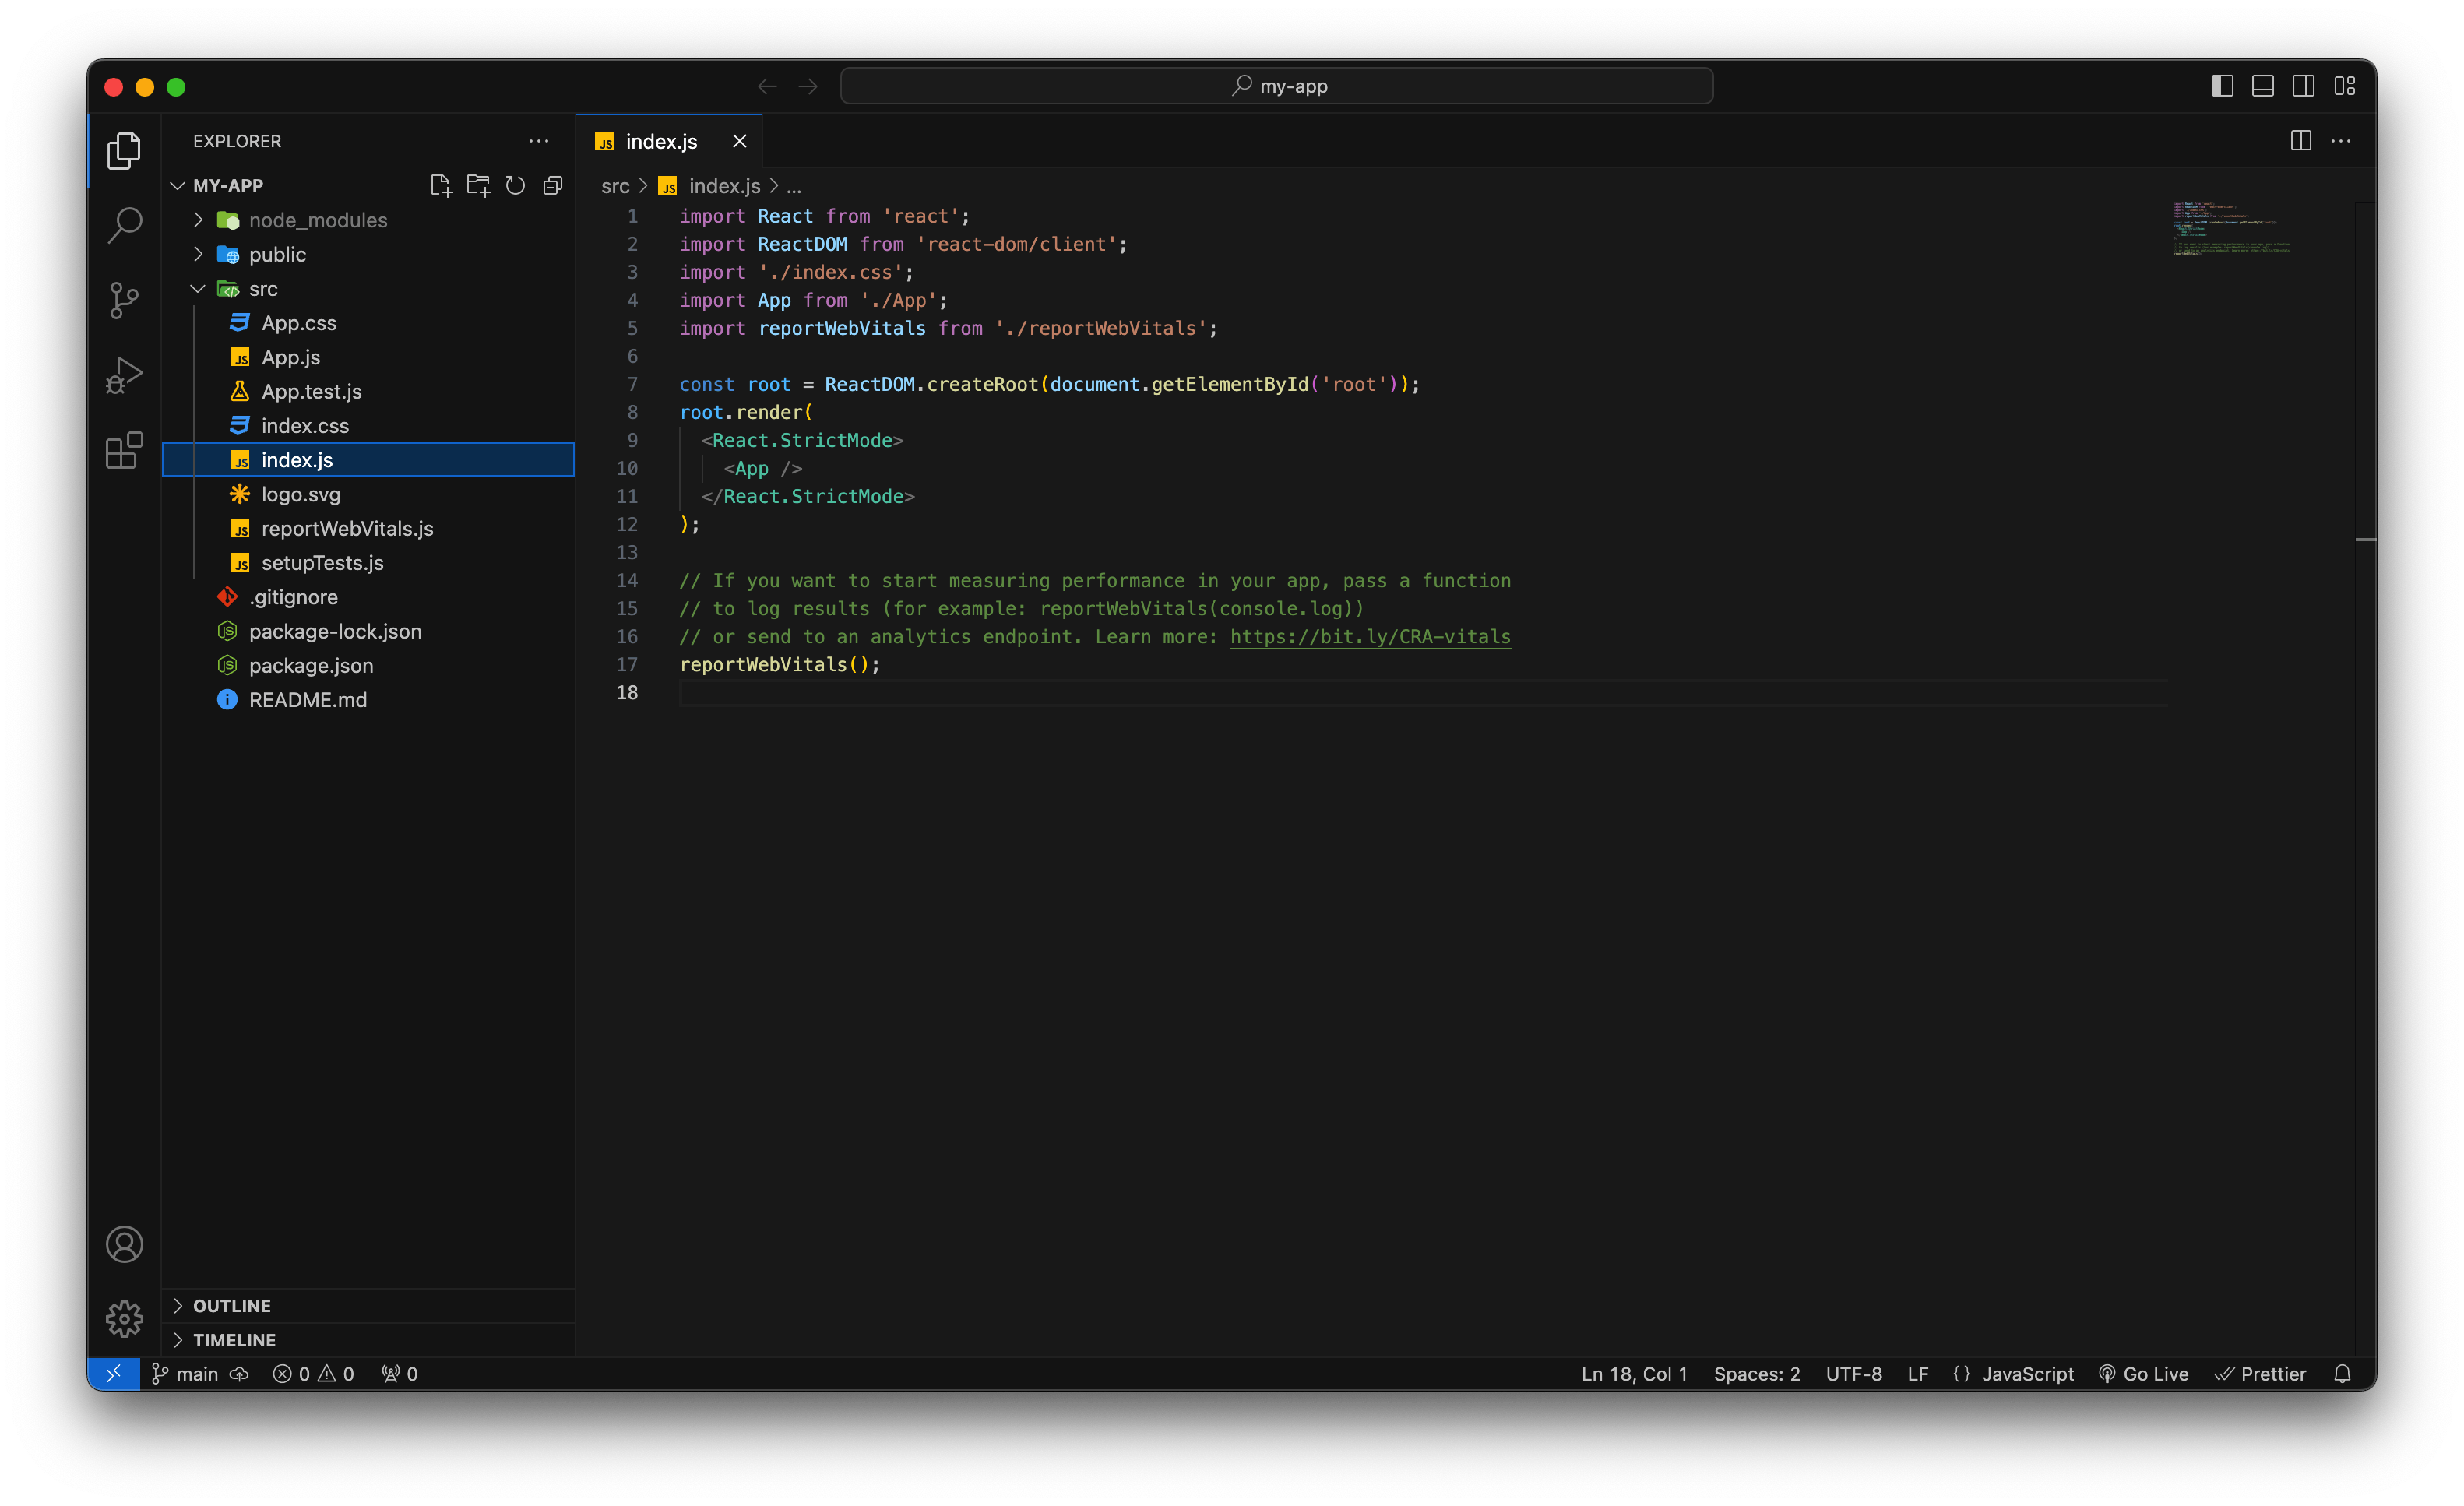
index.js: This file is the entry point of our React app, responsible for importing theAppcomponent and rendering it to the DOM using theReactDOM.renderfunction.Here's a breakdown of the code:
1. Gathering the Essential Tools:
import React from 'react';This line imports the core React library, which provides the foundation for building reusable components, managing their data and rendering. It's like bringing in the main toolbox for constructing your React app.import ReactDOM from 'react-dom';This line imports ReactDOM, a separate library that's responsible for taking your React components and actually displaying them only on the web page. It's the bridge between your React code and the browser's visual world.
2. Bringing in Your Main Component:
- import App from './App';
This line imports a component namedAppfrom theApp.js` file (located in the same directory).
3. Rendering the App to the Page:
ReactDOM.render( ... );This line is where the magic happens! It takes two main arguments:What to render:
<React.StrictMode> ... </React.StrictMode>: This wraps your app in a special mode that helps identify potential problems and warnings during development. It's like a safety net for catching issues early on.<App />: This calls your importedAppcomponent, instructing React to render its content within theStrictModewrapper.
Where to render:
document.getElementById('root'): This targets a specific element in your HTML document with the ID "root". This is the designated spot where your React app will be displayed.
In essence, this file initializes your React app, mounts your main component onto the page, and activates React's rendering process within a development-friendly environment. It's the first step in bringing your React app to life in the browser!
index.css: This file contains the CSS styles for theindexfile. Use this file to style our app globally, or we can use theApp.cssfile instead.App.js: This file renders ourAppcomponent, which is the root component of our React app. We can use this component to render other components as well and handle the app logic.App.css: This file contains the CSS styles for theAppcomponent. We can use this file to style our app globally, or we can create separate CSS files for each component and import them accordingly.App.test.js: Contains the unit test for theAppcomponent. We can use this file to write and run tests for our app using Jest and React Testing Library. Or create separate test files for each component and name them accordingly.logo.svg: is an SVG image containing the React logo. We can import and use this image in our React components, as we did in theAppcomponent. Or we can replace or delete this image if we want to use a different logo for our app.reportWebVitals.js: Contains thereportWebVitalsfunction that we imported and used in theindex.jsfile. This function is used to measure and report the performance of our app using the Web Vitals API. You can learn more about Web Vitals from here.setupTests.js: This one has the Setup code for our testing environment. It imports the@testing-library/jest-dommodule, which provides some custom matchers and assertions for testing the DOM using Jest and React Testing Library. You can learn more about React Testing Library from here..gitignore: This file contains the list of files and folders that we want to ignore and exclude from our version control system. For example, we want to ignore thenode_modulesfolder, as it is very large and can cause performance and compatibility issues. We can also ignore other files and folders that are not relevant or necessary for our project, such as.env,.DS_Store,build, etc.package-lock.json: This file contains the exact versions and dependencies of all the modules that we installed for our project. It is automatically generated and updated by npm when we runnpm installornpm update. Should not modified or deleted.package.json: Contains the metadata and configuration of our project. It lists the name, version, description, scripts, dependencies, and other information of our project. Can modify and update this file according to our needs and preferences. For example, we can add or remove dependencies, change the name or version, add or modify scripts, etc. This one along withpackage-lock.jsoncan be committed to Git instead ofnode_modules.README.md: This file contains the documentation and instructions for our project. Written in Markdown. Should be committed to Git, as it helps to communicate and collaborate with other developers and users.
Conclusion
In this blog, we have learned how to set up a React project from scratch, and using some of the tools and techniques required for easy development.
We have also learned the purpose and function of each file and folder in the project structure, and how they work together to create a React app.
I hope this blog has helped you to gain a solid foundation for building your own React projects, and a better understanding of the project structure and best practices.
But the learning doesn't stop here! If you have any questions, need a helping hand, or want to share your React discoveries, join the conversation! Leave a comment below or, follow me on Twitter where we can continue the discussion and delve deeper into the world of React.
Remember, the React community thrives on collaboration and knowledge sharing, so let's keep the building (and learning) going.
Thank you for reading, and happy coding! 😊
More Resources
GETTING STARTED -
LEARNING RESOURCES -
DEEP DIVES -
COMMUNITY & SHARING -
My Twitter (For even more React discussions and tips!)
BONUS -
- Awesome React: A curated list of awesome React libraries, tools, and resources.